Triggering Azure Automation Runbooks with Schedules and Webhooks
Azure Automation provides an excellent solution for storing and running Azure PowerShell code (and Python in preview) as a service. You can create runbooks, parameterise them, and use the Azure portal to run and monitor these runbooks. The real power of Azure Automation is the ability to trigger runbooks from outside of the portal. This allows you to integrate Azure Automation jobs into your workflow and run PowerShell scripts when you need them in an already configured environment that you pay for when you use it.
In this article, we will take a look at the functionally built into Azure automation that allows you to trigger Azure Automation runbooks and how to set these up.
Schedules
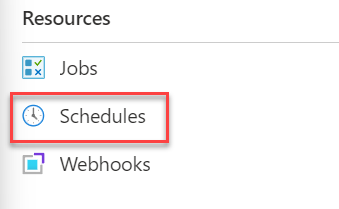
One of the most straightforward approaches is to trigger a run book on a schedule. You can do this from right inside the Azure Portal. Locate your runbook, and in the left-hand menu, click on the “schedules” option.
This will open up a “Schedule Runbook” option where we need to select two items, the schedule to use and the parameters to pass.
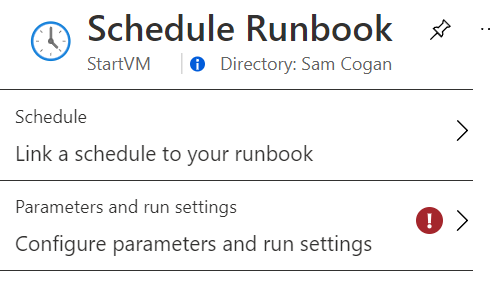
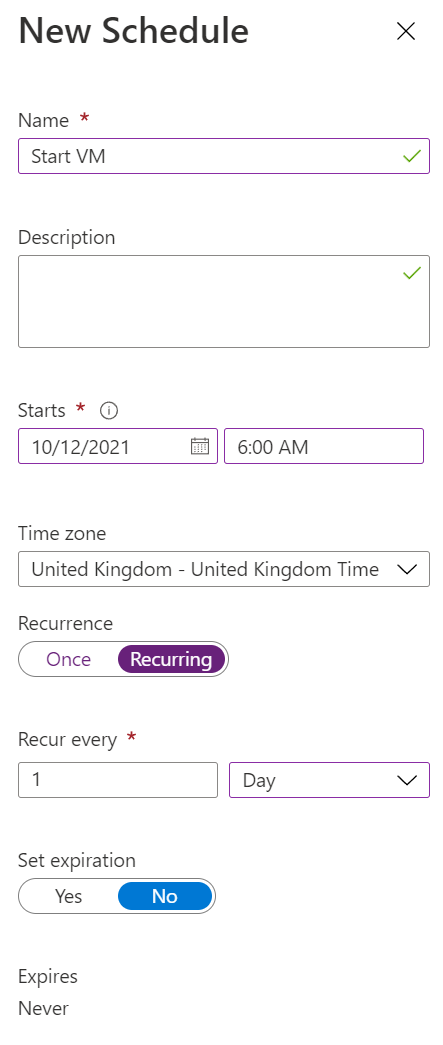
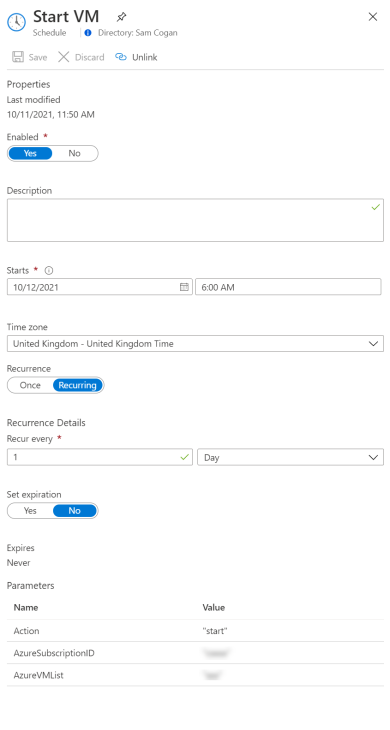
Click on the first option. Here you need to define the schedule to run. You can use the same schedule for multiple runbooks; if you want to do that, you would select an existing one. If you don’t have an existing schedule, then click on “Add a schedule”. This will open the new schedule box to define the name, description, start date, and time. If you want a recurring schedule, then change the “recurrence” option to recurring and provide the recurrence details. The schedule below runs every day at 6 am.
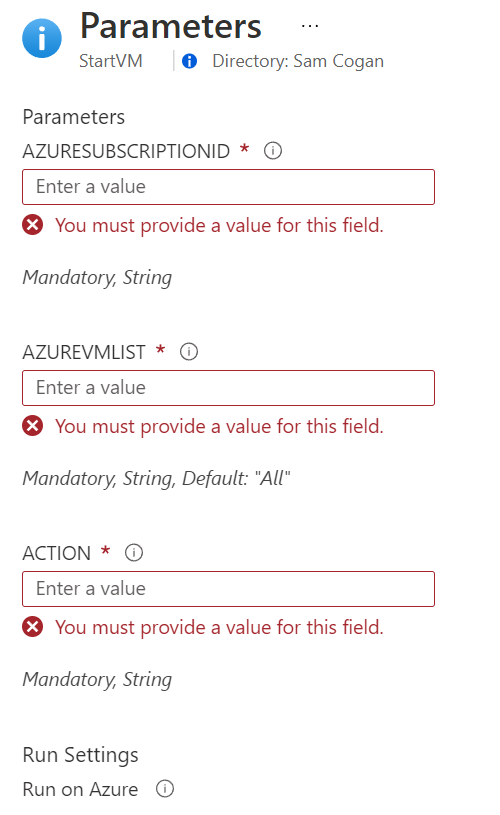
Once that is created, we then need to set up the parameters for the schedule. Every time your schedule runs, it will use the same parameters, so we need to define them here. Click on the “Parameters and Run Settings” box, and you should see a list of parameters that your script needs. If your parameters are marked as required in the script, they will be required on this page. If they have defaults, they will show here. Complete the parameters as needed.
Once you have set these parameters, click OK to create the schedule. You should now see this listed under your schedules section.

If you click on the schedule, you can see a summary of the schedule and parameters set for this.
Your runbook will be triggered the next time the schedule is reached. You can keep an eye on it using the jobs page to see if it ran.
Webhooks
Schedules are great if you want to run a job at a specific time, but what if you want to run a job in reaction to a particular event or when triggered by a user. This is where webhooks come in. Webhooks are a fairly universal approach to being able to trigger things using an HTTP request. This means that any system that can send an HTTP request can trigger a job. This could be an orchestration system, a custom application or even a user with a browser or a tool like PostMan.
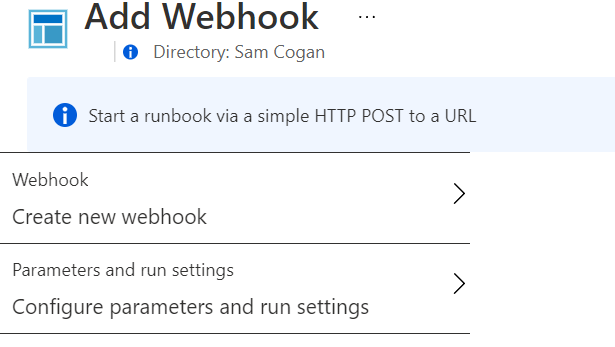
Webhooks are set up similarly to schedules, click on the job and then click on WebHooks. Click “Add Webhook” to create one.
As before, we have two options to complete, the webhook details and the parameters.
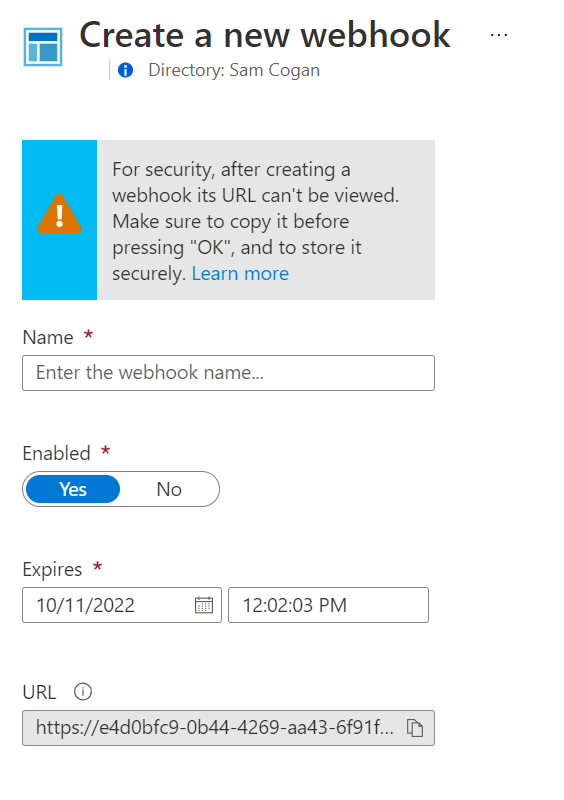
Clicking on the first option, you need to provide a name for the webhook, select whether it is enabled and give it a date and time when it expires. On this page, you will also see the URL for the webhook; this contains the key needed to call the webhook. For security, this URL will only be shown on this page. Once you click OK, you will not be able to retrieve it. Make sure you save this URL somewhere.
The parameters page is the same as with the scheduled job. You supply values for any parameters that the runbook needs. Each time you hit the webhook, it will use these parameters. Because you are using an HTTP request to trigger the webhook, it is possible to pass parameters in using that get request rather than setting them here. This is more complex because you need to collect those values in your script and validate them, so if you don’t need dynamic parameters, I would avoid them.
If you want to use dynamic parameters sent in the webhook get request, you need to edit your script. You need to remove any existing parameters and replace them with an object parameter called $WebHookData:
param (
    [Parameter (Mandatory = $false)]
    [object] $WebHookData
)
This parameter is where all the data sent with the webhook gets dumped. In your code, you then need to extract the data you need. WebHookData contains three properties:
- WebHookName - the name of the webhook that was called
- RequestHeader - the header of the request that called this webhook
- RequestBody - the body of the request that called this webhook
To send variables the user of the webhook will need to send them in the body of the request (so they need to use POST). The runbook then needs to obtain these values, so you could do something like this:
  $WebhookBody = $WebHookData.RequestBody
  $InputData = (ConvertFrom-Json -InputObject $WebhookBody)
  $user = $InputData.UserName
The code above assumes the data sent to the webhook has a “UserName” property. Because we cannot control what is sent, we need to make sure that we validate this data is present and error if not. The rest of the script can continue as usual, using the information that came with the request.
Once you have configured your parameters, either statically or dynamically, click OK to save your webhook. Your Webhook will now be listed on the webhooks page. You can test the Webhook by sending a request to the URL provided earlier. This should trigger the runbook, and you should see a job on the jobs page.
Webhook Security
Keeping your Webhook secure is essential; you don’t want just anyone to trigger it. The first thing is to make sure you keep the Webhook URL safe. This URL contains a unique key for that specific Webhook that would be very difficult to guess. For some workloads keeping this secure may be enough for you. If you need additional security, you could look at some other techniques:
- Configure your Azure Automation account with service endpoints or private link so that it can only be called from locations you allow.
- Have the runbook call out to another system to validate the request. If you are triggering the runbook when an event happens in your software, have it call your application API to validate that the event did happen
- Require some other security-related data to be passed in the body of the request
Other Methods
Schedules and WebHooks are the two options built into Azure Automation and the easiest to configure, and if you need some simple automation, this is the best place to get started. There are many other ways to trigger runbooks from outside of the automation account, such as:
- Calling the Azure Automation Rest API
- Using the Azure CLI or Azure PowerShell cmdlets
- Using Logic Apps or Power Automate
- Using other third party automation tools that have integrations for Azure Automation
If you have more complex requirements for your automation or need to integrate it into some existing workflows, then this is the place to start.
