Start and Stop Azure Resources with Elgato Stream Deck
Resources running in Azure cost money, and if you don’t need them 24/7, then turning them off when they’re not in use is a good idea. It can, however, be a bit of a pain to remember to turn those resources on when you need them (or to remember to turn them off when you don’t). There are many solutions to help with this, such as turning off VM’s on a schedule, but in this article, I want to take a look at doing this using an Elgato Stream Deck.
For those not familiar with them, the Stream Deck is an evolved version of a button box. It is a small set of physical buttons with small LCD screens behind each, allowing you to display the image of your choice and define custom actions that occur when the button is pressed.
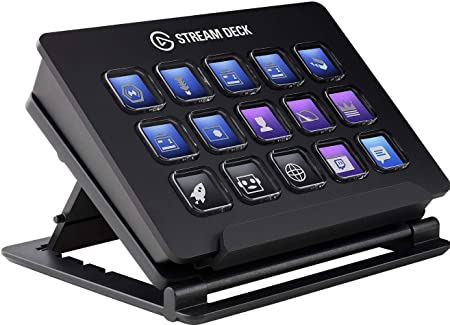
The Stream Deck was initially intended for streamers who wanted an easy way to switch between scenes, display visuals etc. on a live stream. However, it has quickly evolved into a more general productivity tool for anyone who wants a set of interactive buttons in their workspace. For example, in my setup, I have a Stream Deck that does the following:
- Launches various applications such as VS Code and Visual Studio
- Launches a browser running as a different user to access the Azure Portal
- Spins up a complete development environment for some projects, including REST API
- Inserts some commonly used text snippets into whatever I am working on
- Quick action buttons for Teams to mute, show/hide camera, share desktop
- Switch OBS studio screens when recording videos
In this article, we will look at adding some extra buttons that will start and stop some Azure resources to make it simple to spin up your dev environment in the morning and turn it off in the evening. In this example, we will look at doing this with a VM, but you could expand this to use any Azure resource or set of resources.
Azure Automation
The first step of creating this process is to figure out how we will talk to the Azure resources. We could run this all locally on the workstation where the Stream Deck is attached using Azure PowerShell or CLI, but this presents some challenges, particularly authentication. We would need to authenticate to Azure in PowerShell or CLI when we press the button, which involves an interactive prompt for the user, which could be challenging to present. We would also need to re-authenticate when the token expires. This could prevent a barrier to using this and make our code more complex.
Instead, we will use Azure Automation to create a PowerShell runbook that can be triggered to start or stop the VM. This will be a very lightweight automation job and should be well within the free usage allowance in Azure Automation.
Create Automation Account
First thing, go ahead and create a new Automation account, or use an existing one. Once created, we need to enable managed identity on this to authenticate with Azure. Open the Automation Account in the Azure Portal and go to the “Identity” tab. On the “System assigned” tab, change the status box to “On”. Note currently, Managed Identity for Azure Automation is in preview.
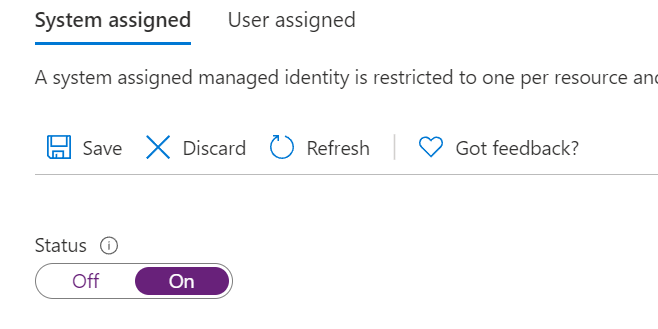
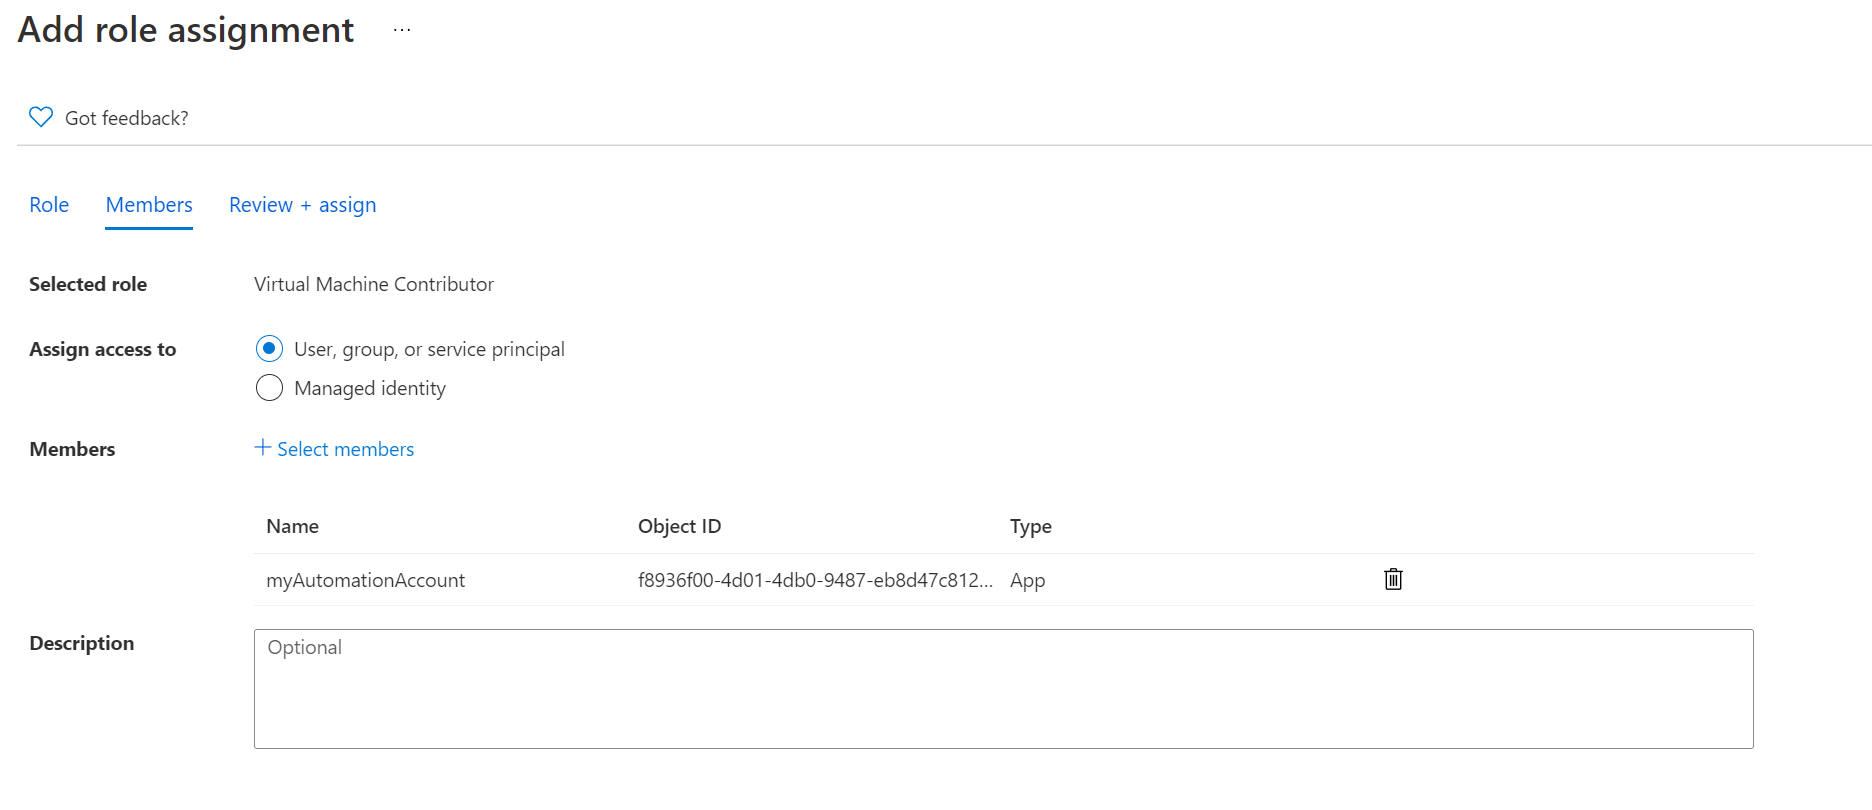
If you prefer, you can also create a User Assigned Managed Identity and attach it to this resource. Once you have this setup, we need to assign permissions for this identity to the resource you want to start/stop. This will vary depending on what type of resource you want to manage. In this example, we are working with a virtual machine, so we will grant the “Virtual Machine Contributor” role to the managed identity. You could create custom roles that include only the specific rights if you require.
Create Runbook
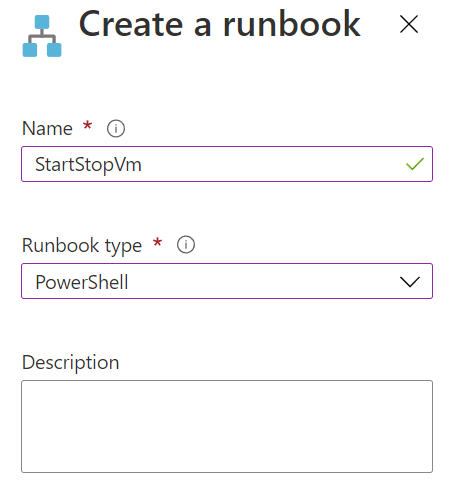
Next, we need to create a new Run Book. To do this, go to the “Runbooks” tab, then click “Create A Runbook”. Give it a name and select “PowerShell” from the RunBook type.
Once the Runbook has been created, click the edit button to add the code, then paste in the code below. This script does the following:
- Validates the input data has the required values
- Logs in to Azure using the Automation Accounts Managed Identity
- Runs either Start or Stop VM commands based on the input data
param (
    [Parameter (Mandatory = $false)]
    [object] $WebHookData
)


$WebhookBody = $WebHookData.RequestBody
$InputData = (ConvertFrom-Json -InputObject $WebhookBody)

write-output $InputData

$action =$InputData.action
$vmResourceId = $InputData.vmResourceId


# Input Validation
if(!$action -or ($action -ne "start" -and $action -ne "stop")){
    throw "request must include an action value set to start or stop"
}


if(!$vmResourceId ){
    throw"request must include vm name, resource group and subscription"
}

$subscriptionId=$vmResourceId.split('/')[2]

# Ensures you do not inherit an AzContext in your Runbook
Disable-AzContextAutosave -Scope Process

# Connect to Azure with system-assigned managed identity
$AzureContext = (Connect-AzAccount -Identity).context

# set and store context
$AzureContext = Set-AzContext -Subscription $subscriptionId -DefaultProfile $AzureContext


Write-Output "Action $action triggered on $vmResourceId"

#Start VM
if($action -eq "start"){

Start-AzVM -Id $vmResourceId -NoWait
}

#Stop VM
if($action -eq "stop"){
Stop-AzVM -Id $vmResourceId -NoWait
}

Write-Output "$action for resource $vmResourceId completed"
Click Save, and then Publish to publish the RunBook for use.
Create Webhook
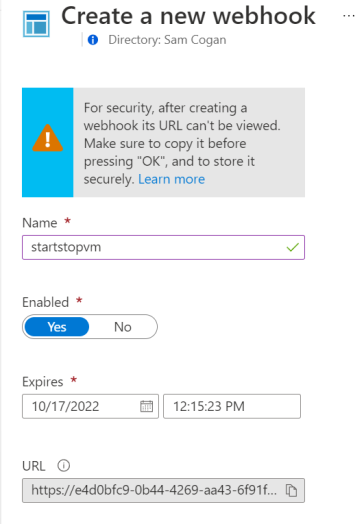
Now we have the code setup, we need to add a webhook to allow us to trigger this. If you want more details on how webhooks work on Azure Automation, take a look at this article. Go to the “Webhooks” option on the left of the Runbook and click “Add WebHook”. Click on the first option and give the webhook a name and ensure it is set to enabled. Copy the URL on this page and store it somewhere; we will need it later.
You do not need to set anything on the “parameters and run settings” page, so click “create” to create the Webhook.
Our Runbook is now ready for use.
Stream Deck Setup
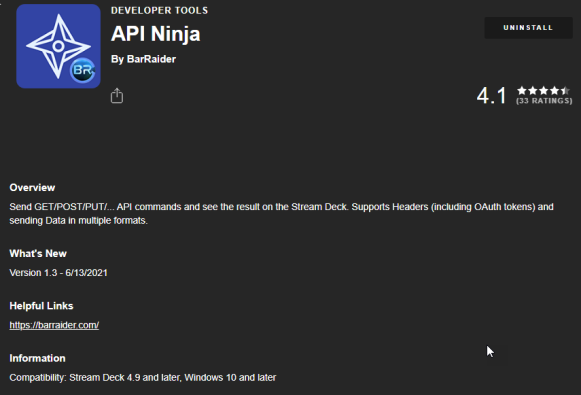
Now that we have a Runbook setup and are ready to be called, we need to create buttons. The Stream Deck does have a built-in web task for making GET requests, but unfortunately, Azure Automation Webhooks need to be called with a POST request. The easy way to do this is using the API Ninja plugin, which can be found in the Stream Deck marketplace in the app.
This requires Windows to work, so if you are using a non-windows OS or don’t want to use a third-party plugin for this, you could instead have Stream Deck call a PowerShell script that sends a POST request. You could then use the “Open” command in Stream Deck to run PowerShell.
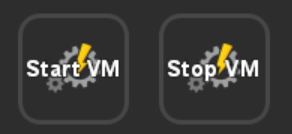
Once you have API Ninja installed, we need to create two buttons using it, one for starting the resource, one for stopping it. You could use a single toggle button, but given that Stream Deck has no way to check the status of the VM, it would be very easy for this to get out of sync.
One the Steam Deck software, go to the search option and look for API Ninja. Drag this onto your Stream Deck twice and label each button appropriately. You can add whatever icon or text you want.
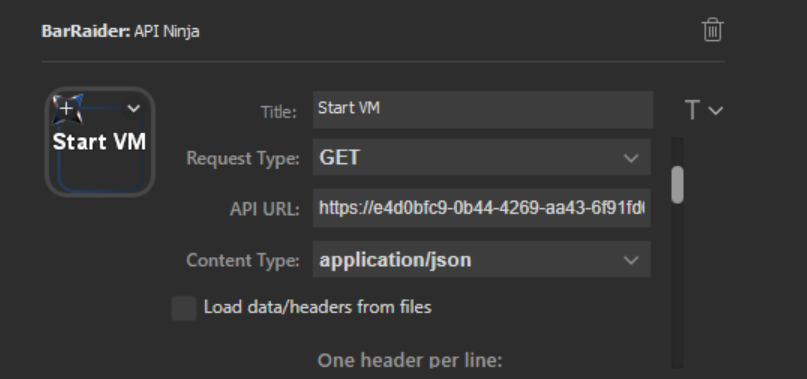
Click on the Start VM button and start filling in the options; this will be the same for both the start and stop buttons.
- Request Type: POST
- API URL: the URL of your Webhook that you noted down earlier
- Content-Type: application/json
Scroll down to the data section and enter the following JSON data for the start button, replacing the “vmResourceID” value with the resource ID of the VM you want to start:
{
  "action": "start",
	"vmResourceId": "/subscriptions/<subscription id>/resourceGroups/<resource group name>/providers/Microsoft.Compute/virtualMachines/<vm name>"

}
For the stop button, it is the same, but changing the action:
{
  "action": "stop",
	"vmResourceId": "/subscriptions/<subscription id>/resourceGroups/<resource group name>/providers/Microsoft.Compute/virtualMachines/<vm name>"

}
Your buttons are now ready to go. Press the appropriate button, and you should get a green tick on the Stream Deck. Check your automation jobs list, and you should see a new job has started. This should complete quickly as it does not wait for the VM to start to finish.
You now have control of your Azure resources through your Stream Deck! You can use this approach to start, stop or do pretty much anything you can do in Azure PowerShell through the Stream Deck.
