Protect PaaS Resources With Network Security Perimeter
This announcement went under the radar a bit at Ignite, but Network Security Perimeter is a new feature that allows you to consolidate and enforce network restrictions on your PaaS resources. Many PaaS resources can apply a firewall or network restrictions that block inbound access, but these settings need to be applied to each resource separately. The network security perimeter allows you to control both inbound and outbound traffic for multiple PaaS resources simultaneously.

The network security perimeter is a top-level Azure object. You define inbound and outbound access rules within this object and associate resources with the security perimeter.
Network Security Perimeter is currently in preview and should not be used for production workloads.
Creating a Network Security Perimeter
Pre-Requisites
To deploy a Network Security Perimeter, you will need to register the preview provider. You can do this using the “Preview Features” page in the portal, and then find the Network Security Perimeter preview feature and enable it.

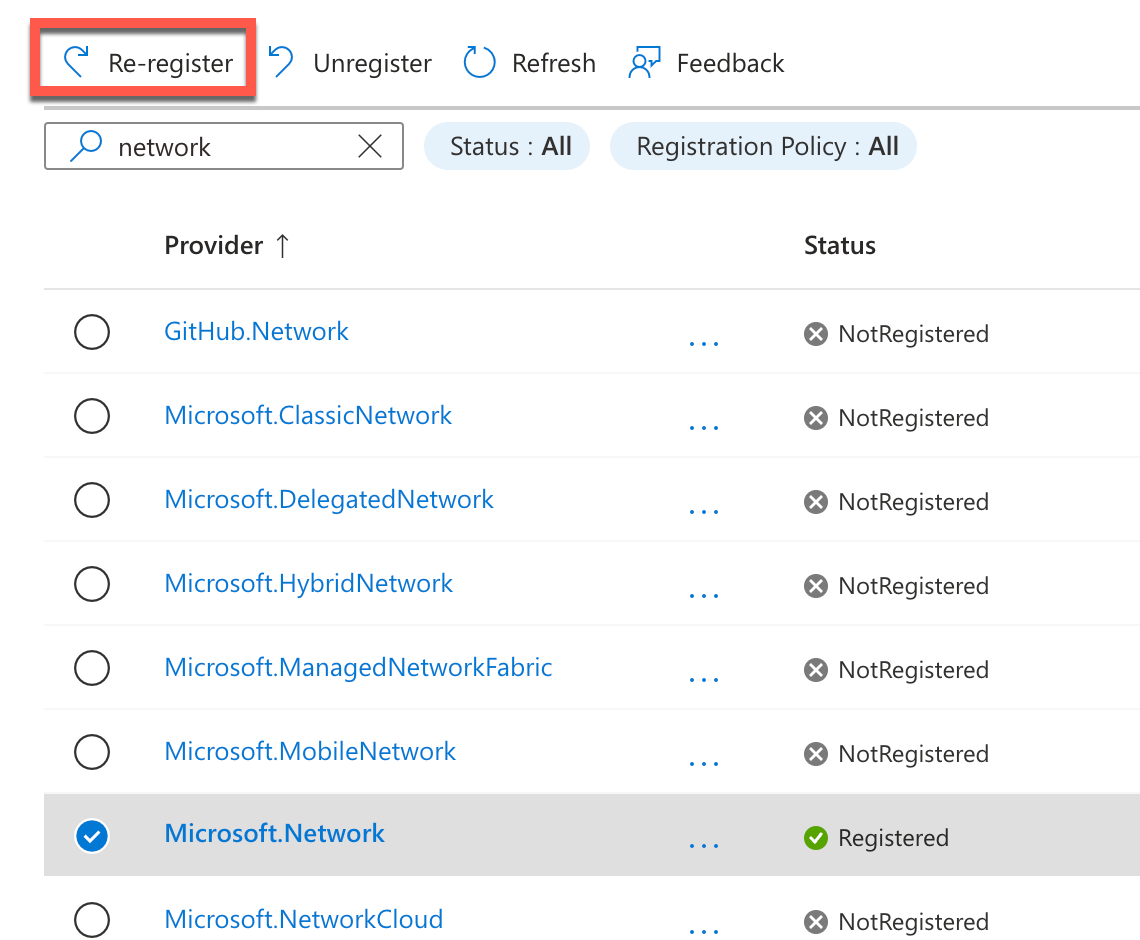
Once that has been registered, you will need to re-register the network provider using the providers page.
Create a Security Perimeter
You can create and manage a network security perimeter using the portal, CLI or PowerShell, and infrastructure as code. We’ll use the portal.
Create a new perimeter using the portal UI. Here, we specify a resource’s standard details, then set an initial profile name. Profiles allow you to define inbound and outbound rules, and you can have multiple profiles per perimeter and associate them with different resources with different access requirements.

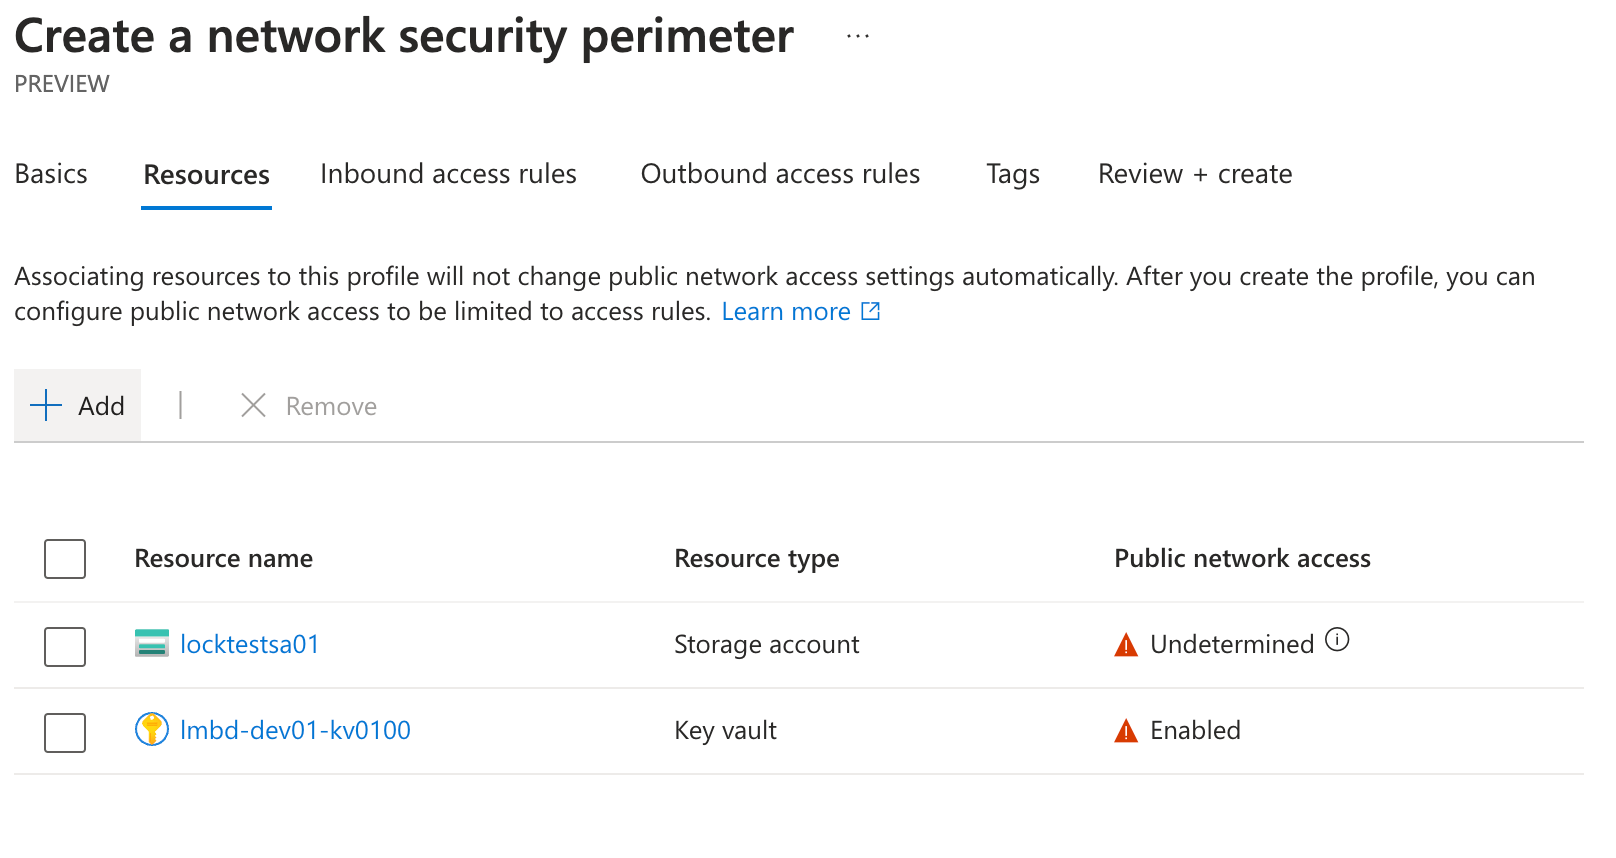
Next, we have the option to associate resources with the perimeter. We can add these later if needed, or we can add them upfront.
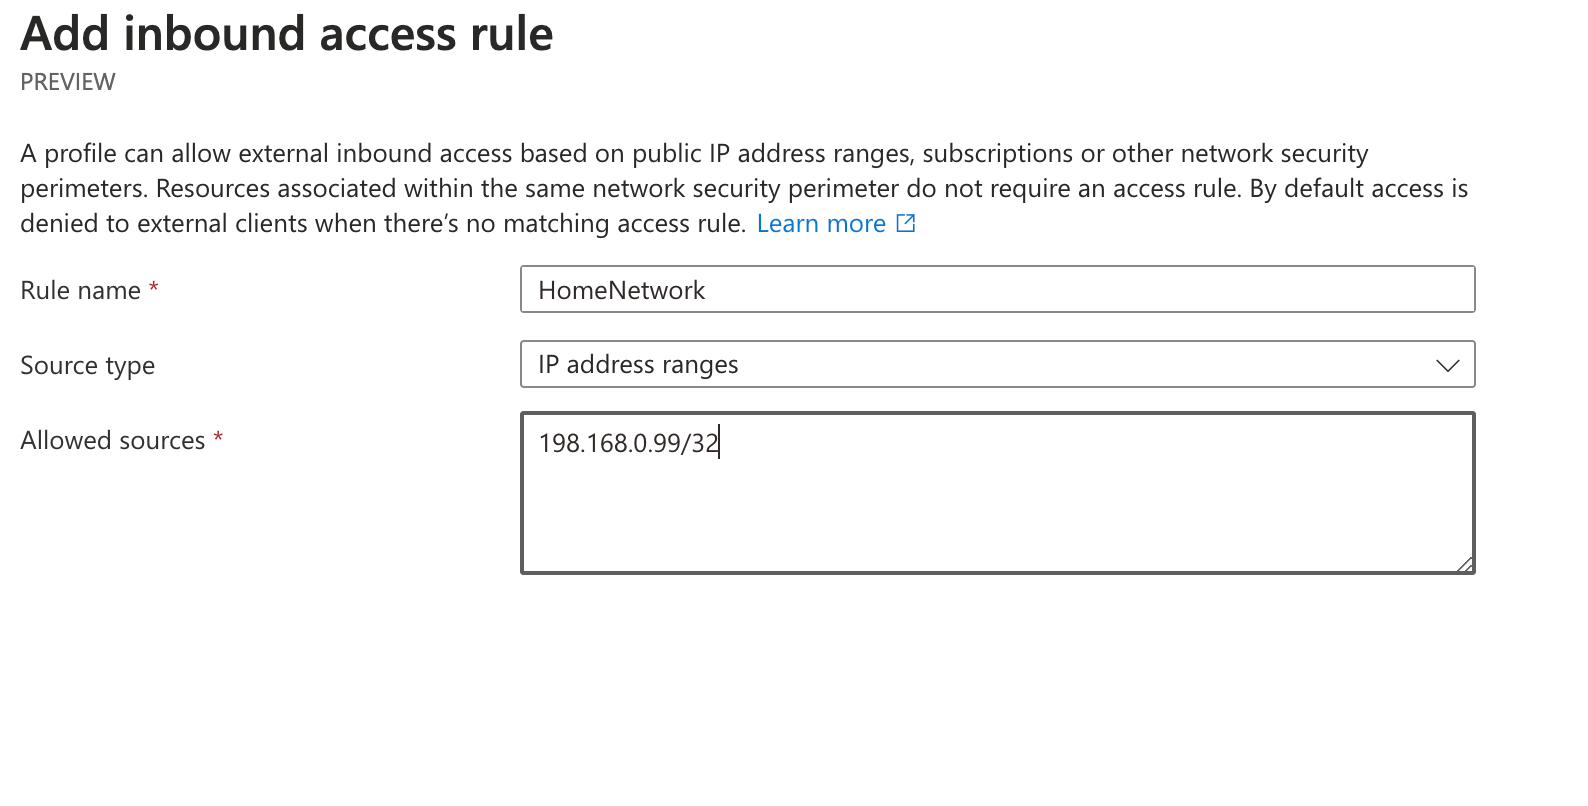
Next, we can add some inbound security rules. Again, these can be added later if needed. They support either IP addresses or Azure subscriptions.
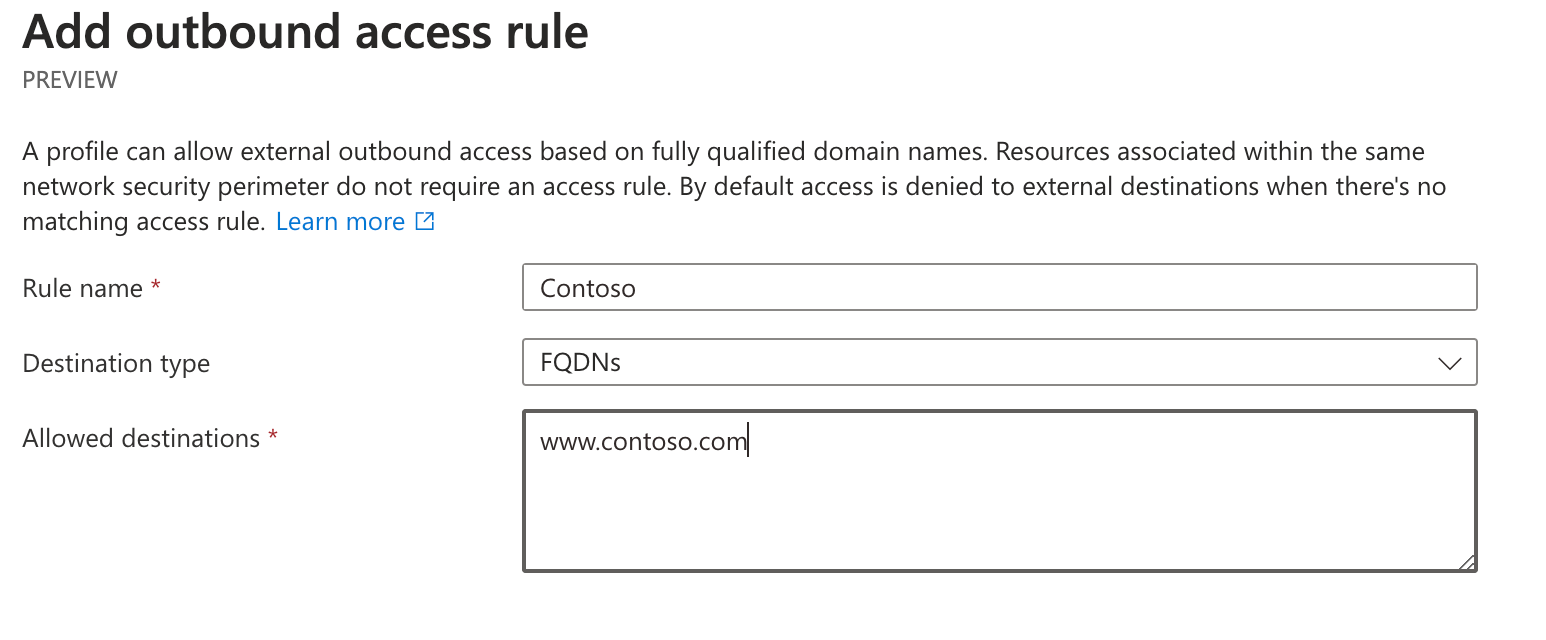
Finally, we can add any outbound rules—these only support FQDNs.
Now, we can complete the wizard and create the perimeter. Once deployed, you can browse to the object. Under the settings section, you will see a profiles tab. This will show the profile you created, where you can see the rules and associated resources.
Learning and Enforcement
When you added the resources in the wizard, these resources were added in learning mode. This means that the rules don’t block traffic, they log requests so you can validate what would be blocked when you turn on the rules. To enforce the rules, go to the associated resources tab in the profile tab and select the resource you want to enable it on, then click the “change access mode” button.
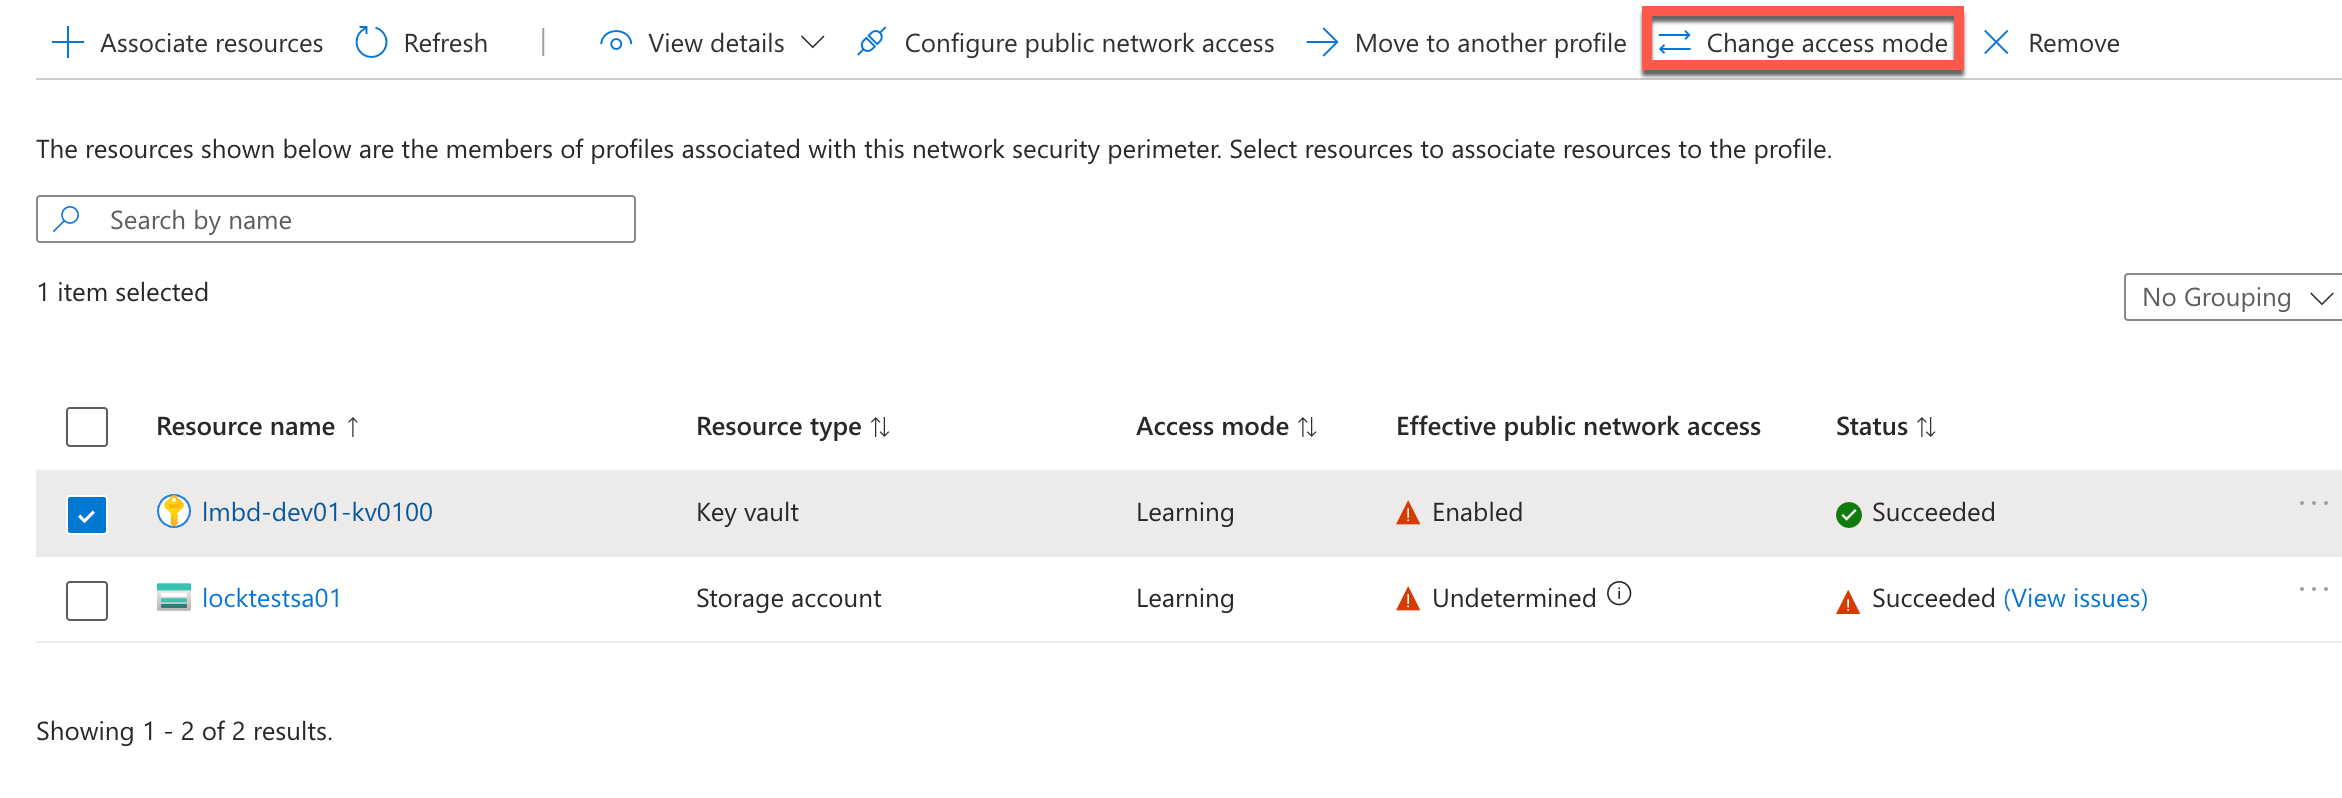
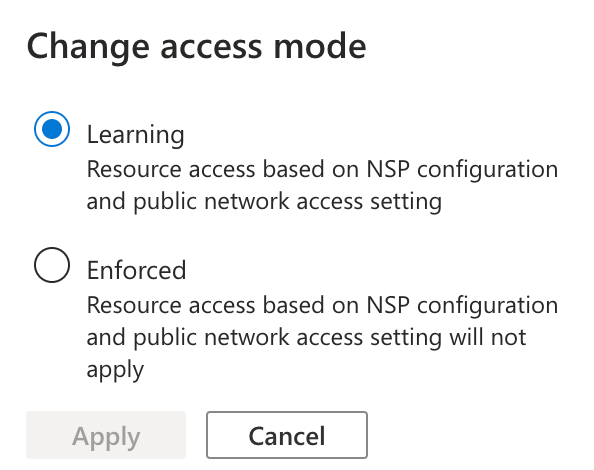
Once changed to “Enforced,” traffic will be blocked, and policies will be applied.
Accessing Resources
Resources that are in a Network Security Perimeter can be accessed in two ways:
- Allowing access to specific IP addresses in the network security perimeter.
- Accessing a resource using a private endpoint.

