Passwordless Azure Deployments with Workload Identity In Azure DevOps
If you are using Azure DevOps to deploy resources to Azure then you probably know the pain of using service principles for your service connection. Using a service principle involves storing the credentials for this in Azure DevOps. Assuming you’re following good security principles and having an expiry on the service principle secret you’re probably going to forget to renew it at least once, and your deployments will grind to a halt. Up until now, the only way to deal with this was to use a self-hosted building agent running on an Azure VM and attach a managed identity that you can use for authenticating to Azure. This works fine, but forces you to use self-hosted build agents, and to run them in Azure. If you wanted to use the MS-hosted agents or host a build agent elsewhere you were stuck with service principles.
No more! Workload identity has been available in GitHub actions for a while, but it is now in preview in Azure DevOps. By using Workload Identity Federation we configure a trust between Azure DevOps and an Azure Service Principle, this then allows Azure DevOps to generate a short-lived credential to be used at deployment time for connecting to Azure. There’s no need to store any credentials in Azure DevOps, so nothing is going to expire.
The implementation of Workload Identity is tied to the service connection in Azure DevOps. This means that any Azure DevOps task that supports the Azure service connection type automatically supports Workload Identity, there’s no need for extension developers to have to update things. Let’s have a look at how to set this up.
Enabling Workload Identity
To set things up we need to do two things, create a service connection in Azure DevOps and enable Workload Identity on the service principle. I’m assuming you’ve got an existing service principle you want to use, if not you can follow the Microsoft Docs to create that.
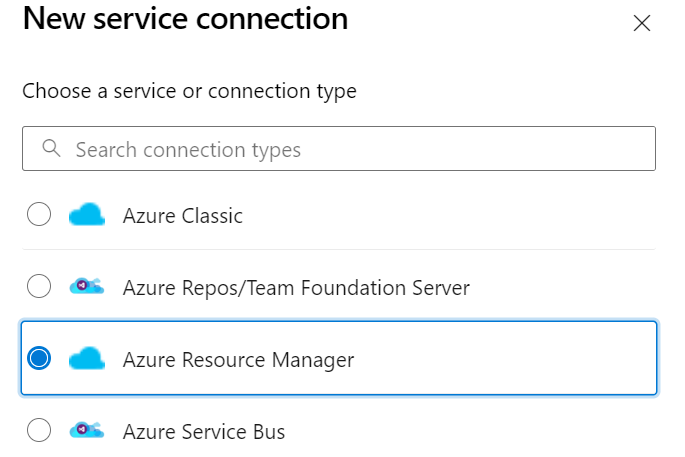
The first thing we need to do is to start creating the service connection, which will give us some values we need to enable workload identity on the service principle. In your Azure DevOps project go to “project settings” on the bottom left then go to the “pipelines” section and click on “service connections”. At the top right you should see a “New Service Connection” button, click on this, then select “Azure Resource Manager”.
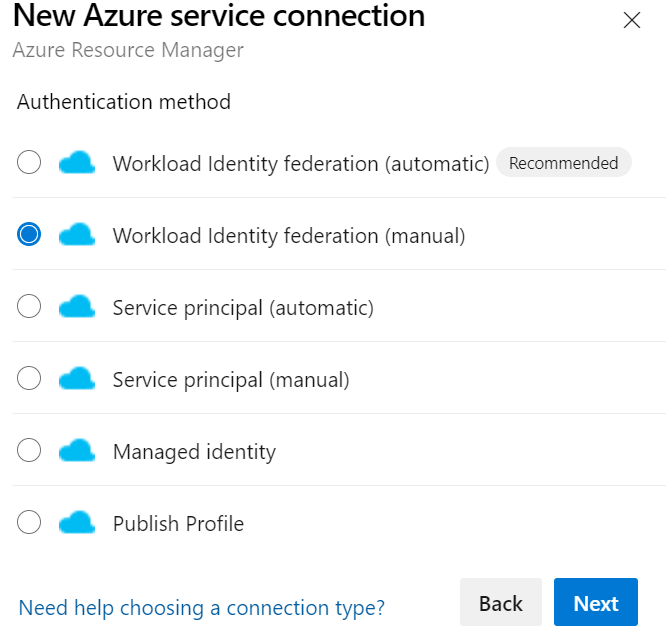
Click next, and then select “Workload Identity Federation (manual)”. You can select the automatic version if you want to let Azure DevOps create the service principle for you, and the account you’re using has the right to do that, but most people won’t, so we’ll follow the manual approach.
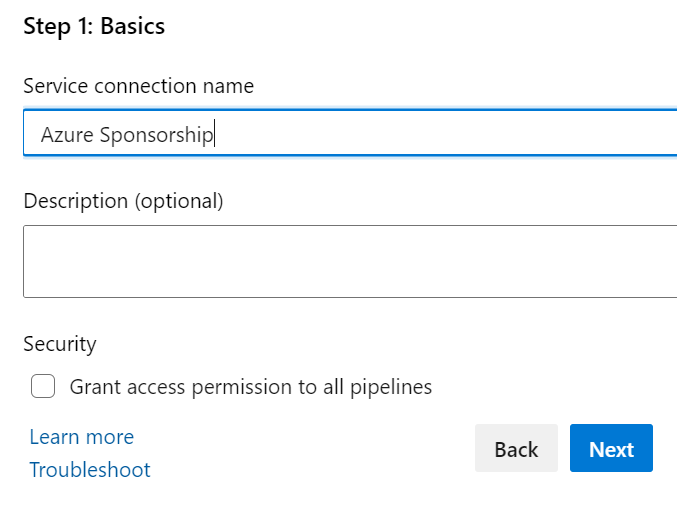
On the next page we just need to give our service principle a name, so enter that and click next.
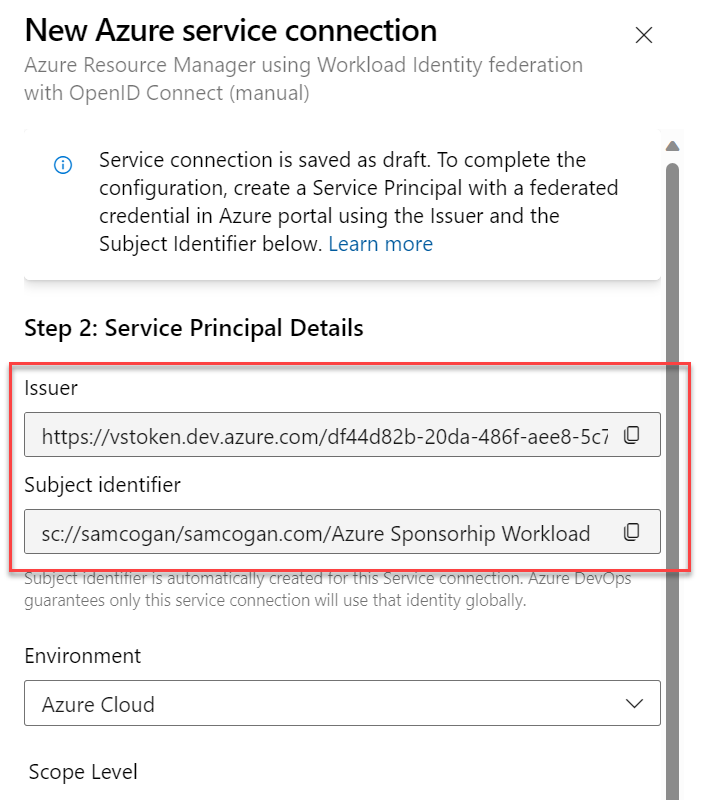
The next screen gives us the details we need to set up the federation on the service principle. You should see two fields, “issuer” and “subject identifier”. Make a note of both of these and open a new tab with the Azure portal. We need to go and configure the service principle with these details before we carry on with the service connection setup.
In the Azure Portal, go to Azure AD and find the App Registration that relates to your Service Principle. Go to the “certificates and secrets” section, and then the “Federated credentials” tab.
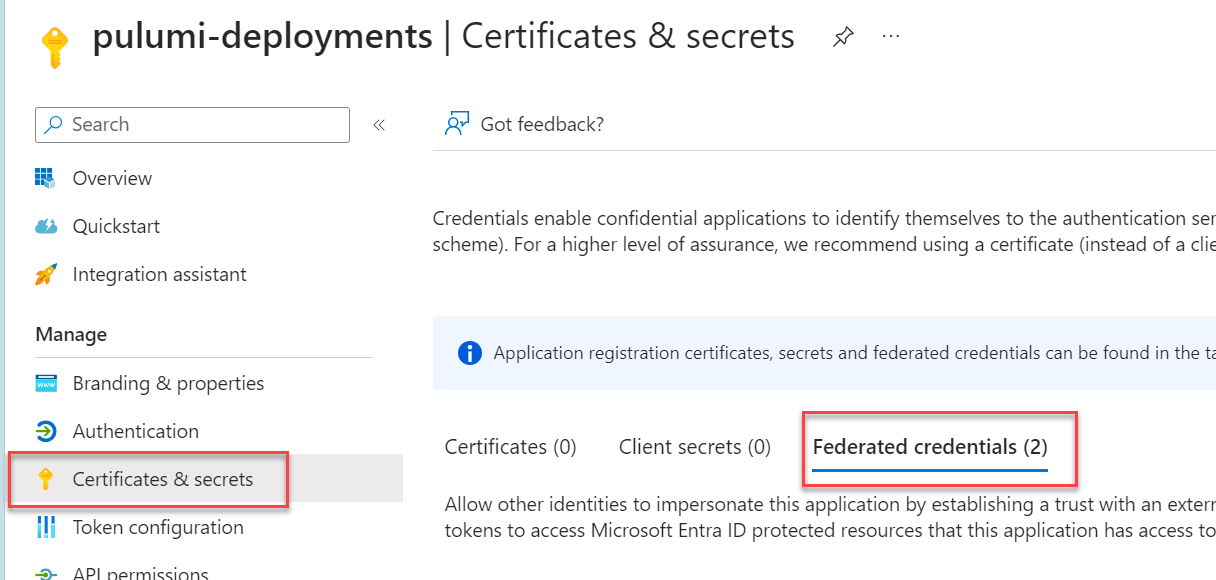
Click, “Add Credential”. In the “Federated Credential Scenario” drop-down select the “Other Issuer” option (there is not currently a dedicated Azure DevOps one). You should then see the “issuer” and “subject identified” boxes appear, paste in the values from Azure DevOps here. Fill in the name box with a name of your choice, and leave the rest as is. Click Add.
We can now go back to Azure DevOps and complete the setup. Fill in the subscription ID you want this identity to deploy to (or management group) and provide the Service Principle and Tenant ID (but note, no credentials).
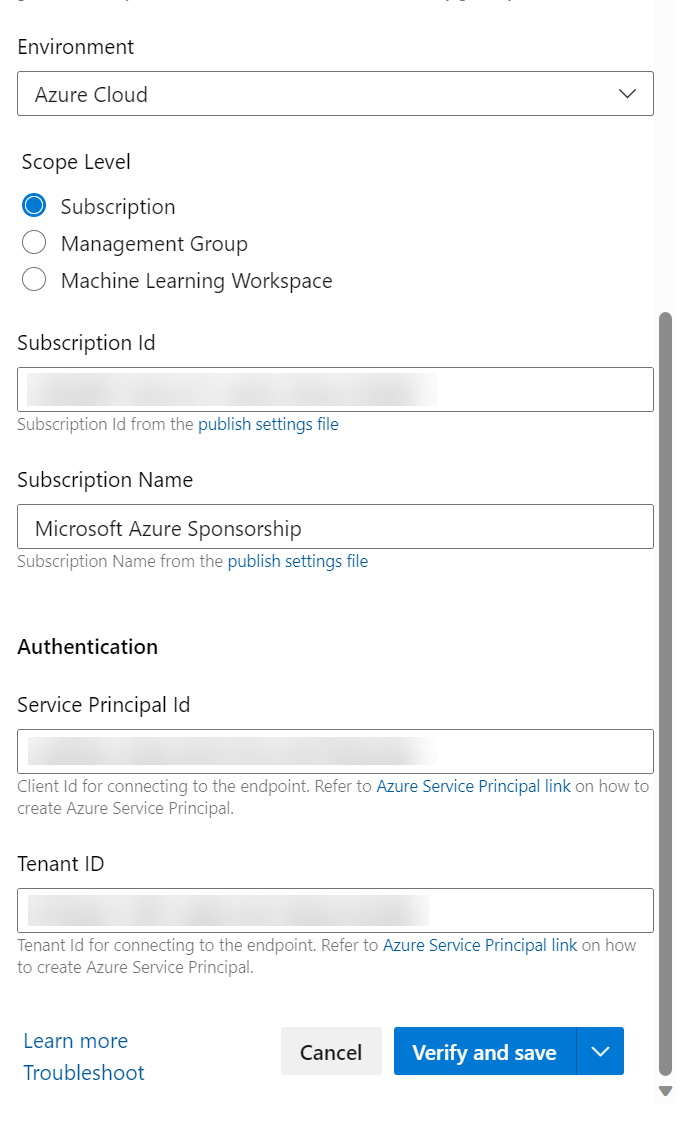
Click the “Verify and Save” button and everything should go green.
The last step is to grant the required service principle permissions on whatever Azure resources, subscriptions etc. you want it to work on. Then you are ready to go. Use this service connection in any of your tasks that support an Azure Service Connection and it will use this to authenticate whether you use a managed or self-hosted agent, on any compute resource you like.
