Multitenant, Multi-App Consent with Azure AD (Entra ID)
Multitenant applications in what is now called Entra ID, but what I am sure I will continue to call Azure AD (AAD) for some time, are a way for developers to create Azure AD-backed applications that are managed in the developer tenant but allow users to log in and manage users from their tenant. They are a very common way for SaaS developers to manage application authentication whilst leaving the user management to the client.
The Problem
When creating a multitenant application, the developer specifies what access this application has to backend APIs, such as the Microsoft Graph API, on the customer’s tenant. To ensure this is a secure and informed process, the customer is provided with details of what rights the developer is asking for and, at first login, is asked to consent to these permissions. If the client doesn’t consent, the app doesn’t get access.

If your application only uses a single Azure AD Application, then the consent is relatively easy and can happen as part of the user’s login to your application UI; this also creates the Enterprise Application in the client’s AAD tenant. However, a common application design is to have a client application and an API that the client talks to. In this scenario, there are benefits to having separate AAD applications for the client and API. However, this causes problems with getting consent, particularly for the API application. For the client app, you can undertake consent at login using the UI; that’s fine. However, for the API application, there is generally no interactive login to the API; it’s machine-to-machine communication from client to API. This means there’s no easy way for the user to consent to any permissions the API asks for, so there is no way for the Enterprise App to get created in the customer tenant.
It is possible to provide an AAD URL for an admin to go to and consent to the API permissions in this format:
https://login.microsoftonline.com/common/adminconsent?client_id={client-id}
This will work, but it could be a better user experience. You will need to provide the client with the appropriate URL and ask them to make sure they go to this and consent before trying to use the client application (if you don’t, the API application won’t exist, and the client won’t be able to request permissions on it).
The Solution
One way to resolve this and provide a better user experience is to use a feature of AAD which allows us to consent to both client and API applications when logging in to the client application. This means that consent can be done automatically when the first user (or admin if admin consent is enabled) logs into the application and requests all the required permissions in one go. This isn’t a particularly well-documented feature and requires a couple of things to be done to make it work.
I assume you’ve already created two AAD applications with the required permissions configured on both. There are three steps you need to do to enable multi-app consent.
1. Expose an API and Consume it
The first thing we need to do is link the client and server applications. This is done by exposing an API on the API AAD Application and consuming it on the client application. If you are using AAD APIs for authorisation on your app, then you probably already have this setup, but if you don’t, you can create a default API; you don’t need to use it for anything.
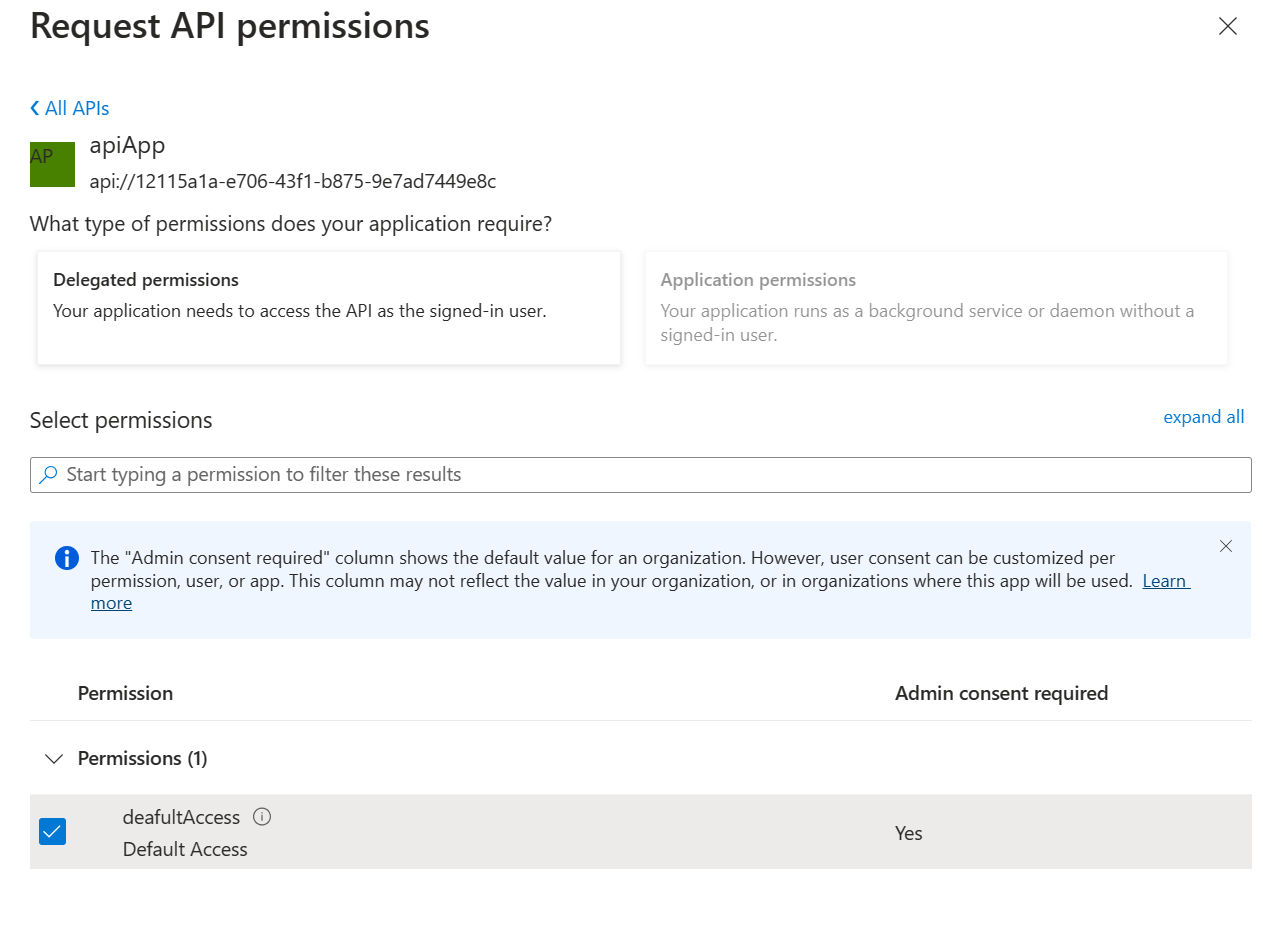
Go to “Expose an API” on the client app, then click “Add Scope”. If you haven’t already set up an API ID, it will ask for one; you can accept the default GUID or create your own. Then, on the next page, we can create the API and provide some information on what the API is for.

Save this, and then head over to the client application to request access to this API. Go to “API Permissions” on the client app and then click “Add Permission”. Go to the “APIs my organisation uses” tab and search for your API app. You should then be able to click on this and then select the API you just created.
2. Add Known Client Application
The client app is now aware of the API app, but we also need to make the API app aware of the client app. We need to set the “KnownClientApplicaitons” setting on the API app to do this. To do this in the portal, you need to go to the “Manifest” option on the API app, which should open the JSON manifest in the UI. You should see the section that looks like this:
"knownClientApplications": [],
We need to change this to add the application ID of the client app:
	"knownClientApplications": [
		"<client App ID>""
	],
Save the file to update the manifest.
3. Use the Default API Scope
Both apps are aware of each other now, and my initial research led me to believe that was all I needed to do. However, this still led to an error at login time stating that the client app couldn’t find the API app. There is a final step that needs to be done, and this needs to be done in your actual application code, not in the AAD app.
When using the AAD SDKs, such as MSAL or any OpenID library, to connect to AAD, you will generally request a scope for the token. To make the multi-app consent work, you need to request a specific scope, at least on the first login, when you want the consent process. This is the “default scope”. You can read more about what the default scope is [here](Just what is the /.default scope in the Microsoft identity platform & Azure AD? - DEV Community).
The sample below is from the MS sample AAD app for creating a todo list. It is requesting the “tasks.read” scope:
export const protectedResources = {
  todoListApi: {
    endpoint: "http://localhost:5000/api/todolist",
    scopes: ["https://your-tenant-name.onmicrosoft.com/api/tasks.read"],
  },
}
export const login request = {
  scopes: []
};
We need to change this to use the default scope:
export const protectedResources = {
  todoListApi: {
    endpoint: "http://localhost:5000/api/todolist",
    scopes: ["https://your-tenant-name.onmicrosoft.com/api/.default"],
  },
}
export const login request = {
  scopes: []
};
The sample above uses a custom API URL; if you are using the default, this would instead be api://<guid>/.default.
4. Login
Once this is all configured, you should be able to log in to your client application, and you will be presented with a consent box asking for permissions that both the client and API applications have requested. If you are asking for the same permission on both apps, you will only be asked for it once, and if you are asking for a subset of permissions on one app and the higher level permission on the other, these will be merged on the consent UI.
