Getting Rid of Passwords for Deployment with Pulumi OIDC Support
Pulumi recently announced support for using OIDC to authenticate to Azure when deploying your resources. This is separate from the Pulumi service supporting this, which it has done for a while, and means you can use OIDC from any supported deployment mechanism, you don’t have to use the Pulumi service to get this. Let’s take a look at what that means and how to do it.
Why use OIDC?
When you deploy resources to Azure, you need to provide some sort of credential to do the deployment. If you’re running the Pulumi CLI locally on your machine then that’s easy, you can just log in to the Azure CLI and it will use those credentials. However, if you are looking to do your deployments from some sort of automated pipeline then you need to get some credentials you can use in an unattended way. For Azure this means either using a Service Principle or Managed Identity but Managed Identity only works if your running your pipeline on an Azure resource (usually a VM), if your using a GitHub Actions hosted runner then that doesn’t work. This leaves you with using a service principle, which works, but means you have to manage a set of credentials, store them securely and renew them when they expire. I’m sure everyone knows the pain of a pipeline starting to fail because the credentials failed.
The OIDC approach means you can do away with passwords. You can create an Azure AD application and then have your pipeline use this to exchange its own token for an Azure token and then use this to deploy your resources. You don’t need, or ever get a password.
The one downside to this is that it requires your pipeline service to support this and provide a way to do that OIDC token exchange. GitHub actions support this, and that is what we will use for this demo, however, Azure DevOps does not currently. This article states that it is coming in Q2 2023, so hopefully we will see that soon.
Pre-Requisites
We need to do a few things before we can set up our deployment.
Create a GitHub Environment
The first is that when we create our OIDC, or what Microsoft refer to as “Federated” identity, we have to scope it to a particular entity type in GitHub, this is one of:
- A GitHub Environment
- A branch in a repo
- A tag in a repo
- All pull requests in a repo
There is no way to scope it to all actions in a repo, so the approach we are going to take is to use an environment. A GitHub environment is a way to describe a deployment target in GitHub. You would create environments like dev, prod etc. and you can set up specific approvals, protection rules and so on. If you think about it, it makes some sense to scope our deployment credential to an environment as we will often want to use different credentials for dev vs prod. If you prefer to scope your credential to one of the other options you can skip this section.
To create an environment in GitHub we will go to the repo and go to the settings page. Click on the Environments tab and then click “New Environments”. Give your environment a name and click Create. Once the environment is created you should be taken to the configuration page. You can leave all the settings as default (but feel free to change them if you want).
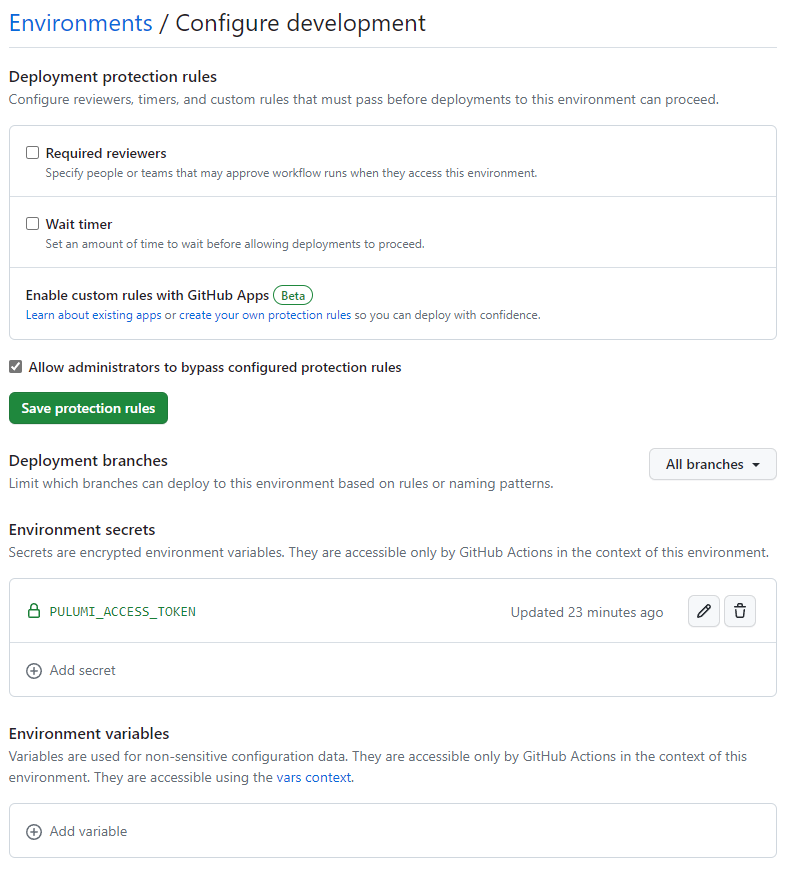
We are using the Pulumi service for our deployments, so we are adding a secret to the environment for our service access token, see here for more details on that. If you are using another means to store your state file, you may want to add that here.
Create Azure AD Application
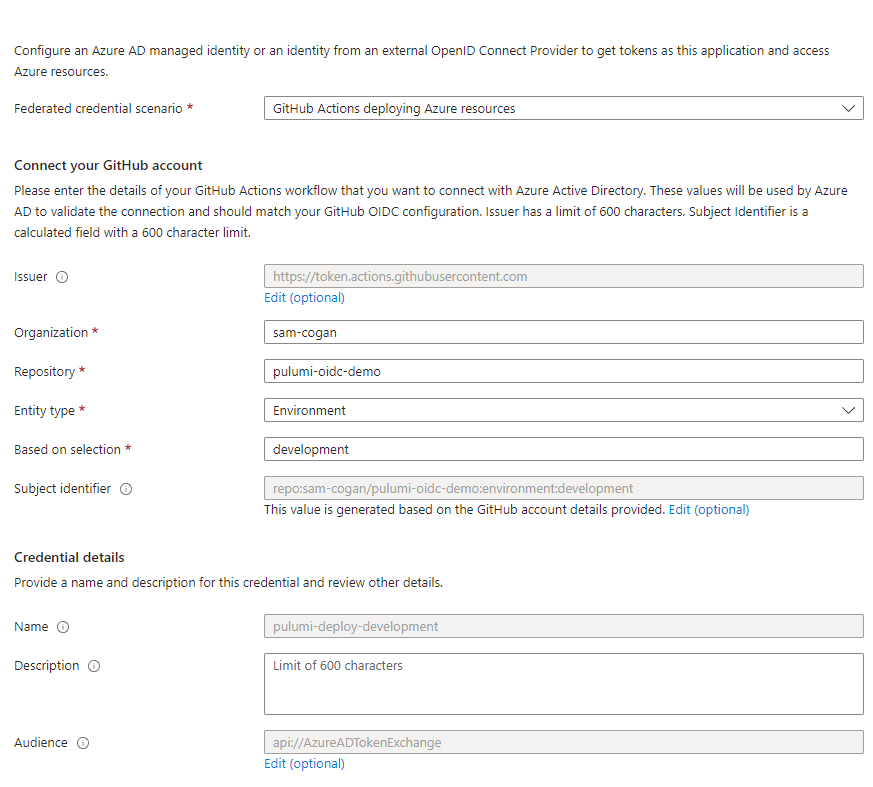
To Authenticate with Azure AD we need an Azure AD Application. We’ll create this by going into Azure AD in the portal, then going to app registrations, and clicking “new registration”. Give the app a name and leave everything else as default. Once it is created, go to the “Certificates and Secrets” section, then click the “Federated Credentials” tab. In here we need to set up our federation with GitHub actions to allow the exchange of a GitHub token for an Azure AD token.
Click “add credentials” and in the window that opens select “GitHub Actions deploying Azure Resources” in the drop-down. Complete the form with the details of your GitHub Organisation and Repository. Select “Environment” as your “Entity Type” (unless you want to use one of the other options) and then enter your environment name. Click create when you’re done.
Grant Permissions
Finally, we need to grant this newly create application permissions to deploy. Select the subscription or resource group where you want to deploy, go to the “Access Control” tab and grant the application the appropriate permissions to deploy what you need.
Create the GitHub Action
To run our deployment we are going to create a GitHub action using the Pulumi CLI action to do the deployment. For full details on using the Pulumi action, see this document.
To make this work with OIDC there are a few things we are going to need to do. First, we need to grant the action permissions to get the GitHub OIDC token by adding this to the action:
permissions:
  id-token: write
Next, on the Pulumi CLI action we need to set some environment variables. We need to tell it the application ID of the Azure AD application we created above, and the tenant ID for this. We also need to set the ARM_USE_OIDC environment variable to true.
      env:
        PULUMI_ACCESS_TOKEN: ${{ secrets.PULUMI_ACCESS_TOKEN }}
        ARM_CLIENT_ID: ea59fc6c-9244-453f-9722-5557595e236e
        ARM_SUBSCRIPTION_ID: 469048f1-92af-4c71-a63b-330ec31d2b82
        ARM_TENANT_ID: 8f18eb27-4f87-4a88-b325-f8e6e7e43486
        ARM_USE_OIDC: true
That’s it. Once this is set the process will get the GitHub OIDC token, exchange it for an Azure token and then use this to deploy your resources.
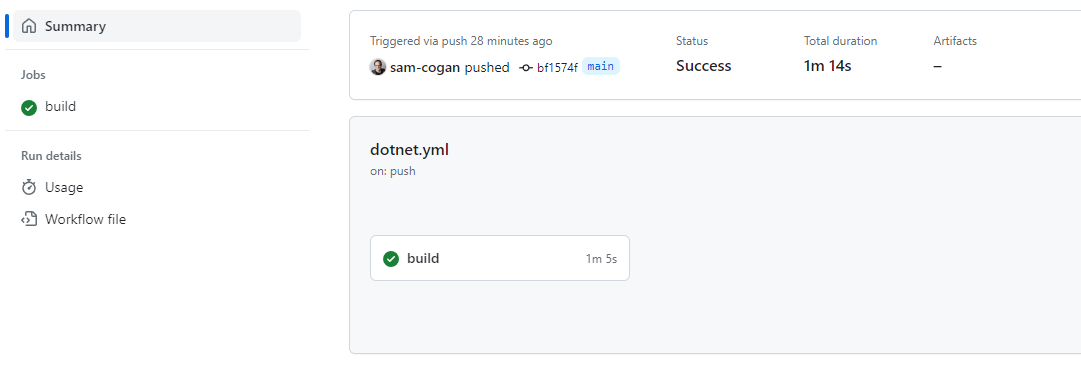
This was really easy to get working and means that I have removed any need to manage Azure credentials in my pipeline. No more broken pipelines when things expire.
The full code for the pipeline is below:
name: Pulumi-Deploy

on:
  workflow_dispatch:
  push:
    branches: [ "main" ]
  pull_request:
    branches: [ "main" ]

permissions:
  id-token: write

jobs:
  build:

    runs-on: ubuntu-latest
    environment: development
    steps:
    - uses: actions/checkout@v3
    - name: Setup .NET
      uses: actions/setup-dotnet@v3
      with:
        dotnet-version: 6.0.x
    - name: Restore dependencies
      run: dotnet restore
    - name: Build
      run: dotnet build --no-restore
    - name: Pulumi CLI Action
      uses: pulumi/actions@v4.3.0
      with:
          command: up
          stack-name: dev
      env:
        PULUMI_ACCESS_TOKEN: ${{ secrets.PULUMI_ACCESS_TOKEN }}
        ARM_CLIENT_ID: xxxxx
        ARM_SUBSCRIPTION_ID: xxxxx
        ARM_TENANT_ID: xxxxx
        ARM_USE_OIDC: true
